

How to Bring Plants Inside Without Bugs: Your Fall Transition Guide
There’s a little heartbreak in saying goodbye to summer plants. All season long, your tropical hibiscus, favorite fern, or beloved collection of patio plants has been soaking up the sunshine. Then the evenings start getting chilly, and suddenly you’re figuring out which plants need to come inside before the first cold snap.
But before you carry even one pot through the front door, there’s one thing worth doing: checking for tiny hitchhikers.
Aphids, spider mites, mealybugs, and other common plant pests can hide on leaves, tuck themselves into stems, or hang out around the edges of a pot. Bring them indoors unnoticed, and a small outdoor pest problem can become a much bigger headache for your houseplants.
The good news? You don't need to be a professional plant detective to prevent most of these problems. With a little preparation, a careful inspection, and a few simple cleaning steps, you can bring your summer plants indoors with much more confidence.
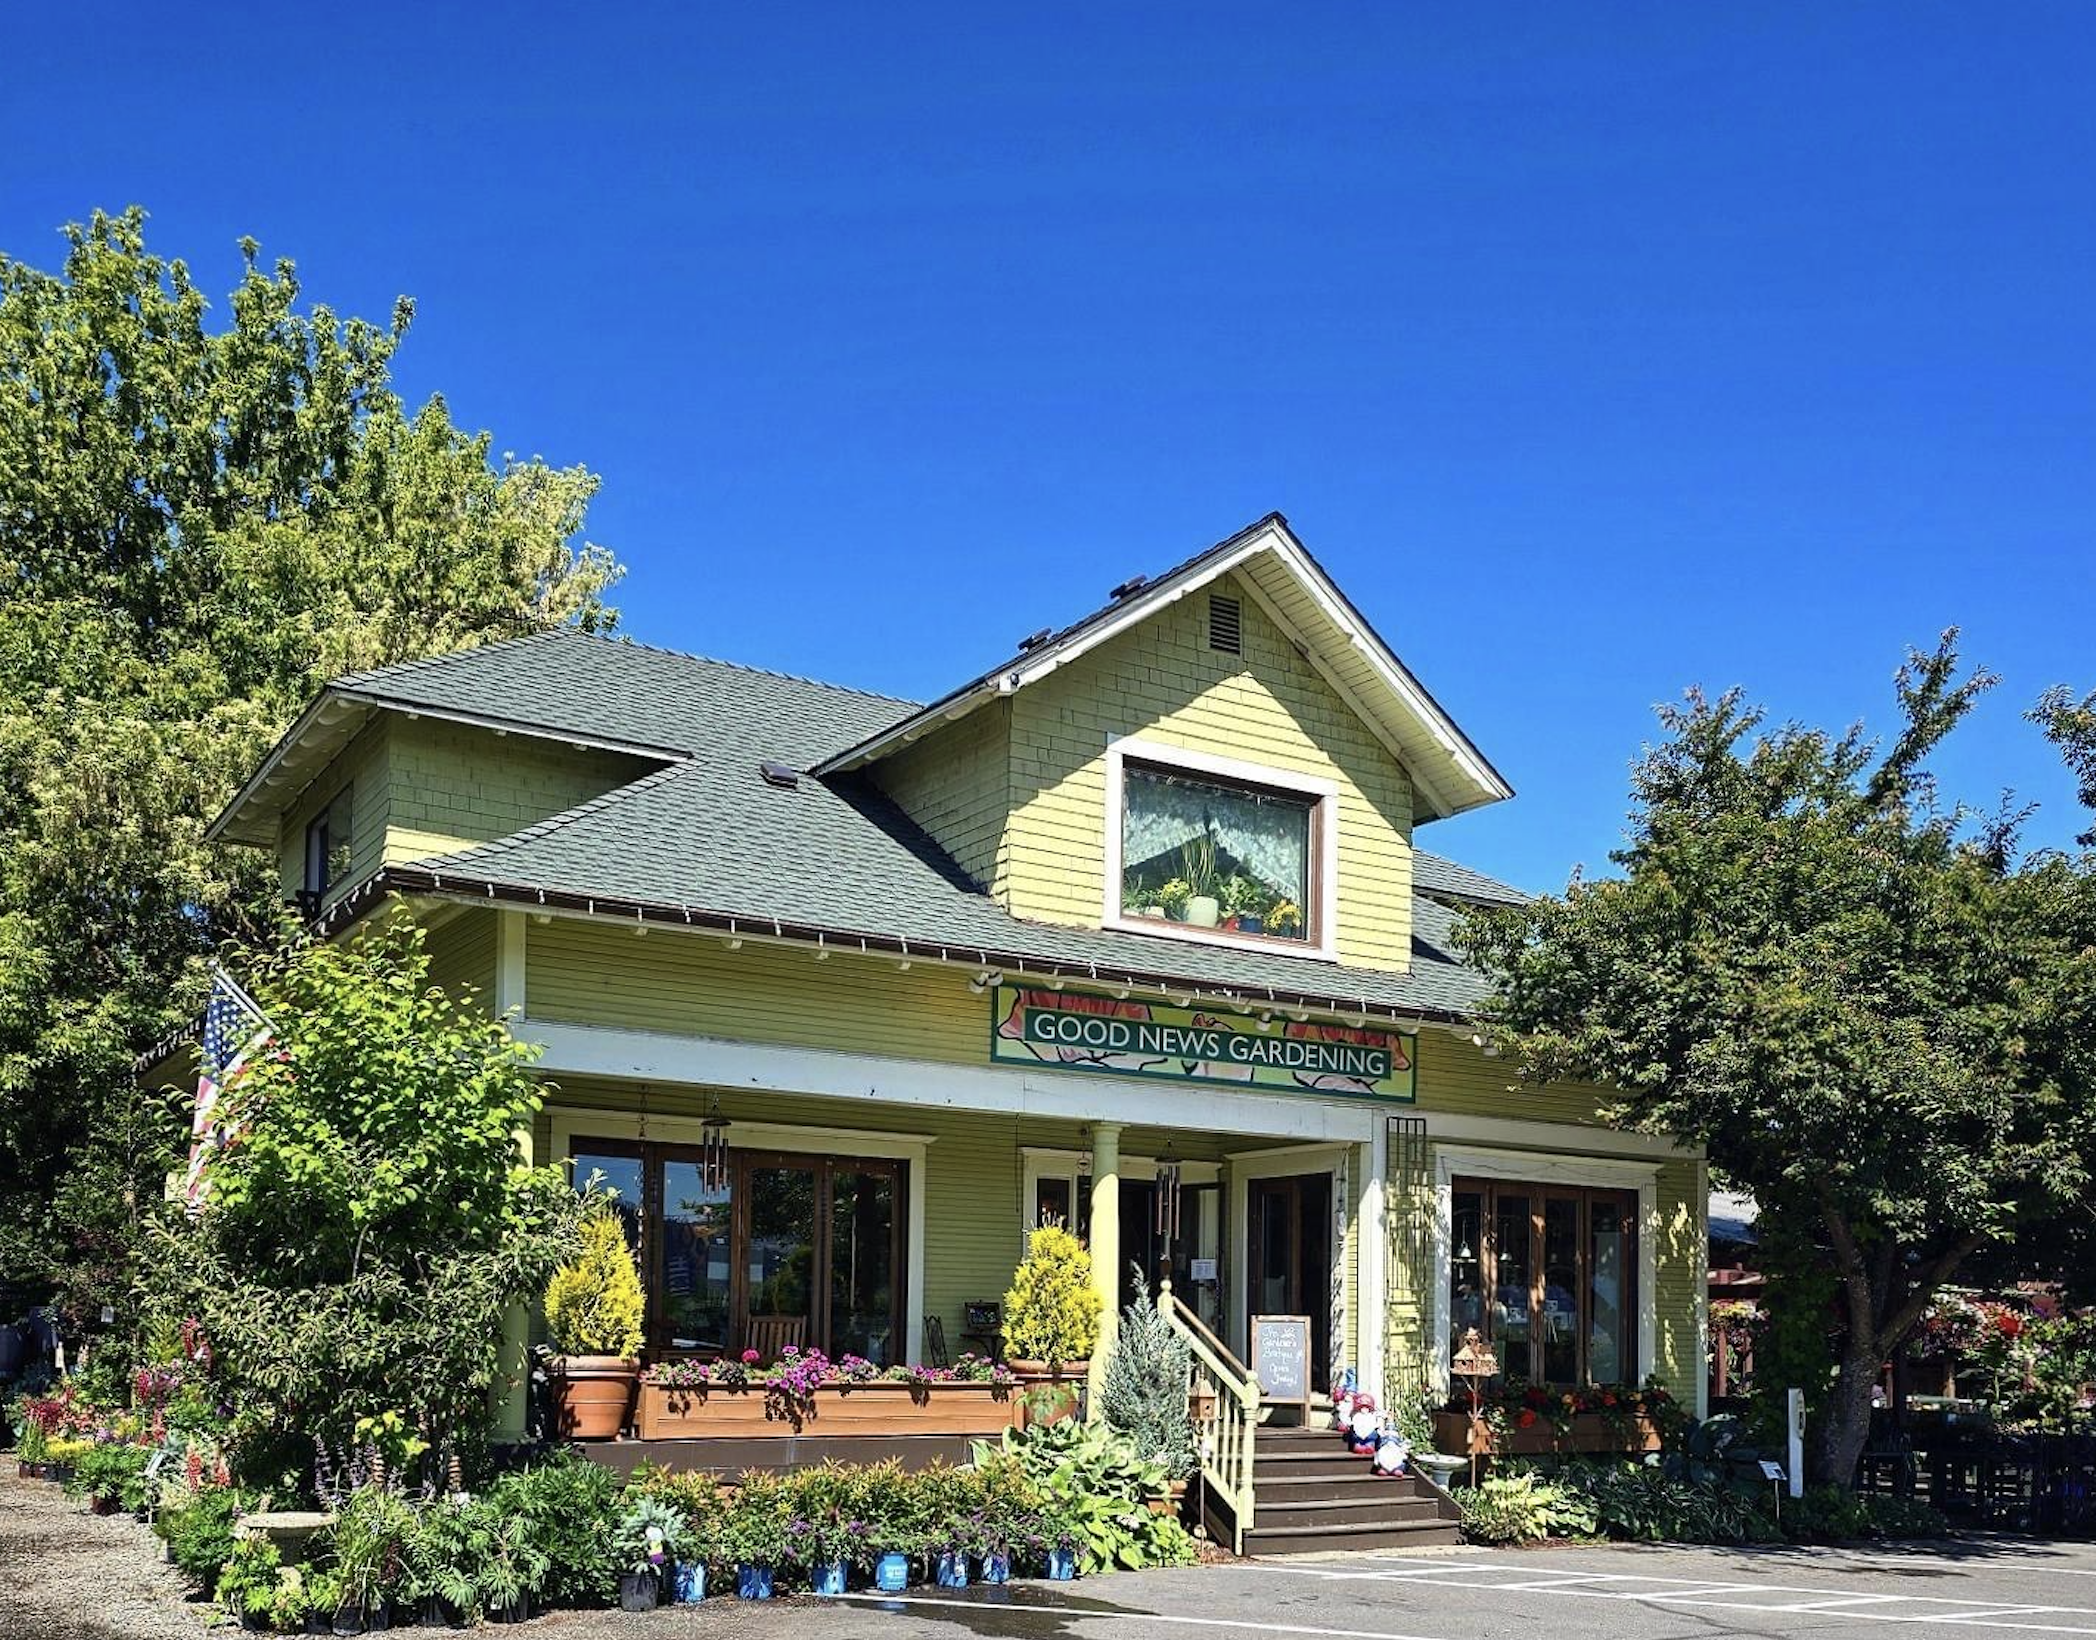
Here at Good News Gardening, we believe gardening should feel joyful, not intimidating. So let's walk through how to bring plants inside without bugs, reduce transplant stress, and help your leafy friends settle in for the colder months.

Why You Should Prepare Plants Before Bringing Them Indoors
Outdoor plants experience a different world from the one waiting for them inside your home. Outdoors, rain can wash away some pests, air circulates freely, and natural predators help keep certain insect populations in check. Indoors, those conditions change.
Your home also provides a relatively stable, warm environment where some pests can continue feeding and reproducing. Spider mites, for example, can multiply quickly under favorable conditions, while mealybugs and aphids can spread to nearby plants.
A plant that looks perfectly healthy at a glance may still have pests hiding on the undersides of its leaves or around new growth. That's why a quick look from across the patio isn't quite enough.
We always recommend checking plants for pests before bringing them back indoors, particularly if they've spent the summer outside. We are happy to help provide with some guidance on identifying aphids, mealybugs, and mites and more.
It's important to remember that the goal isn't to sterilize every plant or panic over every speck of dirt! It's just to catch potential problems early, remove what you can, and give your plants a gentler transition from outdoor living to indoor life.
Step 1: Inspect Every Plant Before Bringing It Inside

Before you wash a leaf or move a pot, give the whole plant a careful once-over. This is your chance to spot pests before they get comfortable in your home.
Start by examining the areas where pests like to hide:
Undersides of leaves: Turn leaves over and look for tiny insects, webbing, eggs, or unusual speckling.
Leaf joints and new growth: Aphids and mealybugs often gather around tender growth and where leaves meet stems.
Stems and branches: Look for cottony white patches, small bumps, sticky residue, or clusters of insects.
Soil surface: Check for decaying leaves, visible insects, or other signs that the plant needs attention.
Pot rims and drainage holes: Take a look around the outside and bottom of the container, too.
Some common pests are easier to recognize than others. Aphids are small, soft-bodied insects that often cluster on fresh growth. Mealybugs can look like tiny bits of white cotton. Spider mites are very small, but you may notice fine webbing or pale stippling on leaves.
Sticky leaves can be a clue, too. Some insects produce a sugary substance called honeydew, which can leave foliage feeling tacky.
If you spot a pest, don’t assume the plant is beyond saving. Identifying the problem is the first step toward managing it.
Pro tip: Inspect plants one at a time, and keep anything you haven’t checked separate from your established houseplants. It’s much easier to deal with one plant in isolation than to discover that a whole windowsill has become a pest-sharing community.
Step 2: Clean the Leaves, Stems, and Pots

Once you’ve inspected your plants, give them a gentle cleanup. A rinse can remove dust and some insects, while wiping sturdy leaves gives you another opportunity to spot anything you missed.
For many leafy plants, here’s a simple approach:
Move the plant somewhere you can rinse it without making a mess.
Use a gentle stream of lukewarm water to rinse the foliage, including the undersides of leaves.
Wipe sturdy leaves with a soft, damp cloth if needed.
Remove dead or badly damaged leaves.
Wipe down the outside of the pot and saucer.
Let the plant drain thoroughly before returning it to its usual spot.
Be a little more careful with plants that don’t enjoy wet foliage. Cacti, succulents, and plants with fuzzy leaves may need a different cleaning approach. Avoid forceful sprays that could damage delicate leaves or stems.
And remember, a rinse is a helpful first step, not a guarantee that every pest or egg has been removed. Continue monitoring the plant after it comes inside.
Should You Spray Every Plant Before Bringing It Indoors?
Our short answer is... not necessarily.
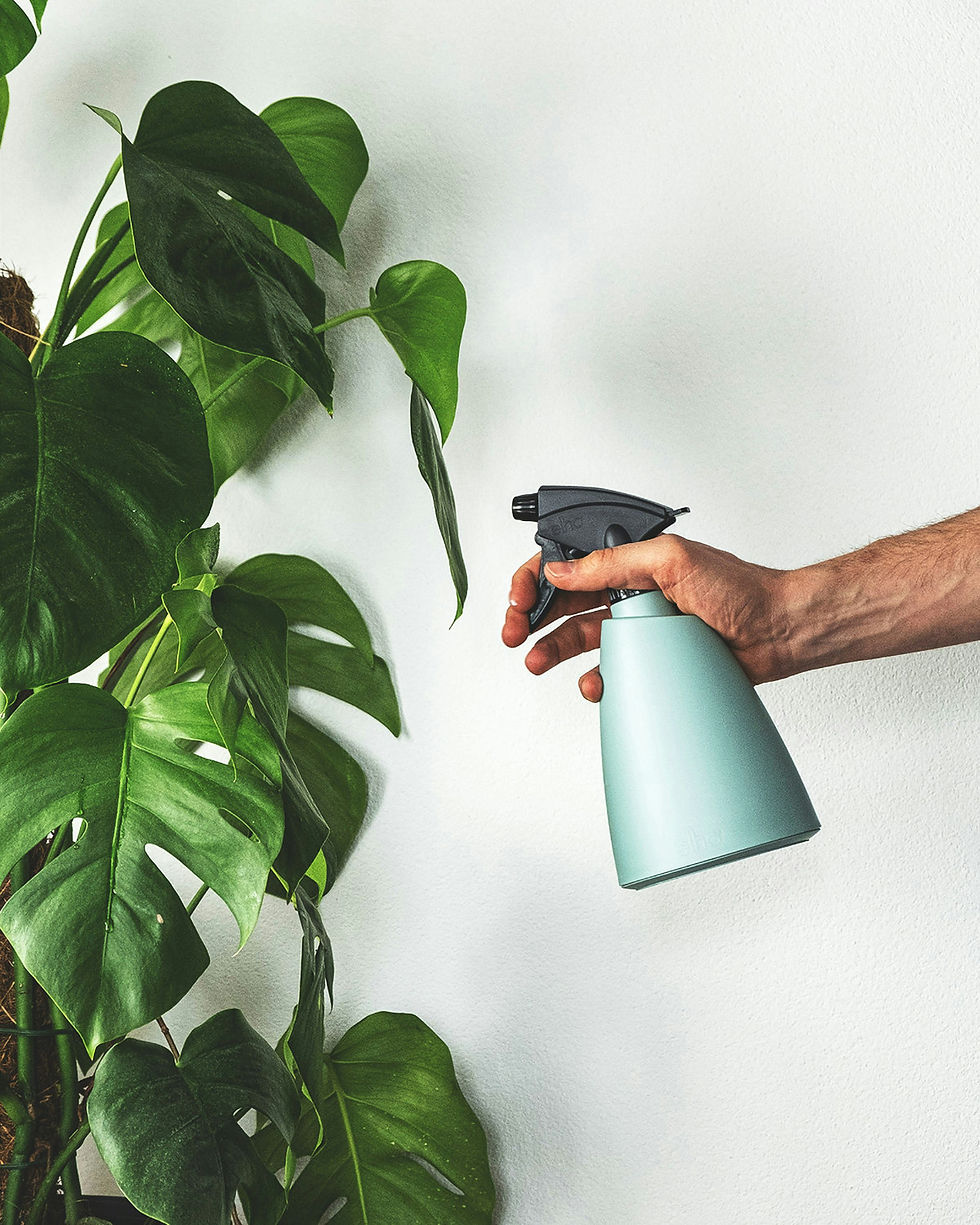
Preventive spraying with insecticidal soap or horticultural oil isn’t automatically needed for every healthy plant.
Some products can damage sensitive foliage, particularly if applied incorrectly or under unsuitable conditions.
If you find pests, identify them first and choose a treatment appropriate for that pest and plant. Follow the product label carefully, including instructions about dilution, coverage, temperature, and whether the product is suitable for your particular plant. Test a small area first when the label recommends it.
If you’re unsure what you’re seeing, take a photo of the affected leaves and bring it into Good News for help identifying the problem! From there, we can direct you to several different treatments that are specific to bacteria and fungus as well as bugs and pests. We have chemical sprays for more severe issues, but we also carry natural and organic remedies that work for most indoor plant issues.
Step 3: Check the Soil and Decide Whether Repotting Is Necessary

It’s tempting to give every plant fresh soil before bringing it inside, but a full repotting session isn’t always necessary. Repotting can add stress just when a plant is adjusting to a new environment.
Instead, start with a simple check.
Look at the soil surface for fallen leaves, dead plant material, or visible pests. Remove debris and make sure the pot drains properly. If the soil is waterlogged, smells unpleasant, or has persistent drainage problems, you may need to address those issues before moving the plant indoors.
If repotting is necessary, use a suitable potting mix rather than garden soil. Garden soil can compact in containers and may introduce unwanted organisms. Choose a mix appropriate for the type of plant, since a moisture-loving tropical plant and a drought-tolerant succulent won’t necessarily want the same growing medium. If you're not sure what soil you need for your plant, be sure to ask! We have several potting mixes for different varieties of plant, and we can help you pick a soil that will provide your plant with the right drainage, mix, and nutrients it needs to thrive.
You should also consider whether the plant needs a larger pot. If it’s healthy and has enough room for its roots, you may be better off leaving it alone until it has settled into its indoor environment.
Pro tip: Try not to change everything at once. Moving indoors, repotting, pruning heavily, and changing the watering routine all in the same week can be a lot for a plant to handle. Make necessary changes, but save optional projects for another time.
Step 4: Help Your Plants Adjust to Life Indoors
After spending the summer outside, your plants need time to adjust to their new surroundings. Indoor light is usually less intense than outdoor light, even when a room looks bright to us.
When temperatures allow, you can ease some plants through the transition by moving them into a more sheltered, shaded location outdoors before bringing them in. This can help them adjust to lower light levels. However, don’t leave a cold-sensitive plant outside just to complete a gradual transition. Protecting it from damaging temperatures comes first.
Once indoors, pay attention to these four things.
Light
Place each plant where it receives the type and amount of light it needs. A sunny outdoor patio may have provided far more light than an indoor window can offer. South-, east-, and west-facing windows can provide different light conditions depending on the season, nearby trees, overhangs, and buildings.
Watch your plants over the following weeks. Yellowing leaves, stretched growth, or a noticeable decline may mean their new location needs adjusting.
Temperature and Drafts
Keep plants away from cold windows, drafty doors, and direct blasts of heat from vents. Many tropical houseplants are sensitive to chilly temperatures, even if they tolerated a warm autumn afternoon outside.
Watering
Your watering routine will probably need to change. Lower light and slower growth often mean plants use water more slowly indoors. Check the soil before watering instead of automatically following your summer schedule.
Some plants prefer the top layer of soil to dry between waterings, while others need more consistent moisture. Follow the needs of the plant rather than applying one rule to everything.
Fertilizer
As growth slows for many plants in fall and winter, they may need less fertilizer than they did during the active growing season. Avoid pushing growth when light levels are low. Adjust feeding according to the plant’s needs and the product instructions.
Keep newly relocated plants separate from your established indoor collection while you observe them. A spare room or suitable area away from other plants can give you time to spot any pests that weren’t obvious during the initial inspection.
Step 5: Monitor Your Plants After They Come Inside

Even a careful inspection can miss a tiny pest or eggs hidden in a difficult-to-see spot. That’s why the work doesn’t end when the pots reach their new home.
For the first two to three weeks, check your plants every few days. Look beneath leaves, examine fresh growth, and watch for sticky residue, webbing, discoloration, or insects.
Keep an eye on the plant’s overall condition, too. A few dropped leaves can happen as a plant adjusts to different light and temperatures, but widespread yellowing, wilting, or a sudden decline deserves a closer look.
If you find pests:
Move the affected plant away from other plants.
Identify the pest as accurately as you can.
Remove visible pests or rinse the plant when appropriate.
Choose a suitable treatment if needed and follow its label.
Continue checking the plant and repeat treatment only as directed.
Avoid combining several pest treatments in a rush to fix the problem. More products don’t necessarily mean better results, and some combinations or applications can damage foliage.
The key is to keep checking. Early detection usually makes a pest problem easier to manage, and regular observation helps you learn what’s normal for your plants.
A Fall Note for Columbia Gorge Gardeners

Here in Hood River and throughout the Columbia Gorge, fall weather can be a little unpredictable. Warm afternoons can give way to chilly nights, and conditions can vary quite a bit depending on your elevation and exact location.
That means there isn’t one perfect date for bringing every outdoor plant inside. Watch the forecast, learn your plant’s temperature requirements, and move cold-sensitive plants before conditions become risky.
Many common tropical houseplants should be brought in before nighttime temperatures approach roughly 50–55°F, but this is a general precaution, not a universal threshold. Some plants need warmer conditions, while others tolerate cooler temperatures. Check the needs of each species, and do some research about their growing zone.
Hood River has several growing zones within just a few miles! If you live on Oak St or below, you are in 7 growing zone. If you live between Oak St. and May St. you are likely in zone 6-7. And anywhere between the Heights of Hood River and Odell are usually considered zone 5-6, depending on location. Pine Grove and Parkdale are higher elevation, ranging from zone 5 all the way to 4. Mosier and White Salmon tend to stay slightly warmer in zone 6-7 because of the river influence. Cascade Locks is often milder and wetter through early spring, but still in zone 6-7.
Understanding your growing zone can help give you an idea of when your plants will need to be transitioned indoors.
If you’re bringing in a plant that has spent the summer thriving on your porch, remember that it’s adjusting to more than just a new address! Light, humidity, temperature, and watering all change when it moves indoors. A little patience will help it settle in.

Frequently Asked Questions
How do I bring plants inside without bugs?
Inspect the leaves, stems, soil surface, pot, and drainage holes before moving a plant indoors. Rinse suitable foliage, remove dead material, clean the container, and isolate the plant from your existing houseplants while you monitor it.
Keep checking for pests over the following weeks, since a single inspection may not catch everything.
Should I spray my plants before bringing them inside?
Not always. If a plant looks healthy and you don’t find pests, routine pesticide treatment may be unnecessary. If you do find insects, identify them first (we can help here!) and select a product labeled for the pest and plant (we can help here, too!). Follow all label instructions and test sensitive foliage when appropriate.
Should I change the soil before bringing outdoor plants inside?
Only if there’s a good reason. If the plant is healthy and the soil drains well, you can often leave it in its current pot. If the soil is waterlogged, compacted, or otherwise problematic, repotting with an appropriate commercial potting mix may help. Avoid unnecessary repotting while the plant is adjusting to indoor conditions.
When should I bring my houseplants inside in the fall?
The right time depends on the plant and your local forecast. Many tropical houseplants should come inside before nighttime temperatures approach 50–55°F, although some need warmer conditions. Check the requirements of each species and don’t wait until a cold snap puts sensitive plants at risk.
How long should I keep plants separate from my other houseplants?
Two to three weeks is a practical starting point for monitoring a newly relocated plant, though it isn’t a guarantee that every pest has been detected. Check the foliage regularly and extend the separation period if you find pests or notice suspicious symptoms.
A Little Fall Preparation Goes a Long Way
Bringing your outdoor plants inside doesn’t have to mean inviting a whole new collection of insects into your home. A careful inspection, a gentle cleanup, and a few weeks of observation can make the transition much smoother.
And if you’re not sure what your plant needs, that’s what we’re here for! At Good News Gardening, we love helping local gardeners figure out what’s going on with their plants, find the right supplies, and keep growing through every season. Don't know if your plant needs a new pot? We can help. Not sure if it's got the nutrients it needs in the soil? Let us help you investigate. Looking for clarity on what kind of pests might be affecting your green friends? That's what we do best.
Stop by and browse our houseplants, pottery, potting soils, and plant care supplies, or bring us your photos & questions. We’re happy to help you get your leafy friends ready for the months ahead.


Comments